Tips: How to Apply for Google AdSense Without Stage 2 Review
Greetings to all Google AdSense warriors! In this post, I’ll discuss a method for applying to Google AdSense that avoids the common “Stage 2 review” hurdles. Google AdSense is a vital source of income for bloggers, YouTubers, and mobile app developers (via AdMob). While I’ll cover AdMob in a separate article, today’s focus is entirely on the AdSense application process.
The Application Process
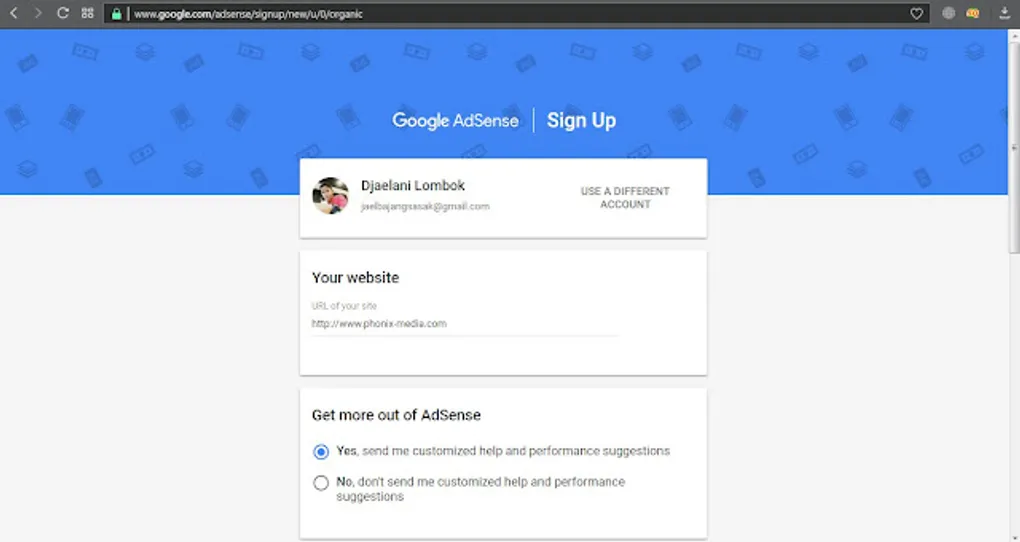
1. Sign Up
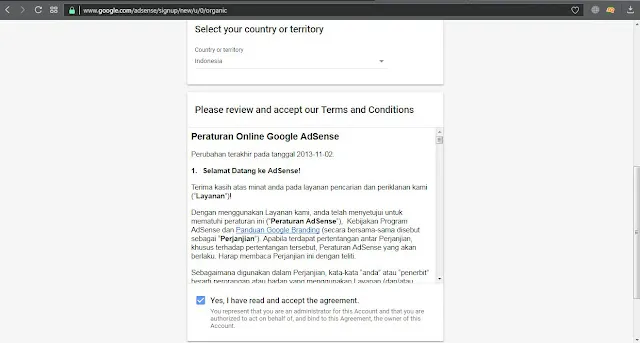
First, visit the AdSense homepage and click Sign Up. Fill out the registration form as shown in the images below.
 |
|---|
 |
[!NOTE] If your blog has a custom domain, you can proceed through this form. If you are still using a
.blogspot.comsubdomain, you will likely be redirected to apply directly through the Blogger dashboard.
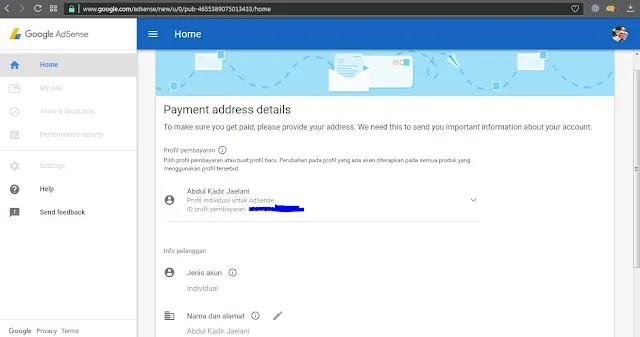
2. Payment Details
Next, you’ll be asked to provide your payment address. Accuracy is crucial here, as this is where your checks or verification PINs will be sent. After filling this out, click Submit.
 |
|---|
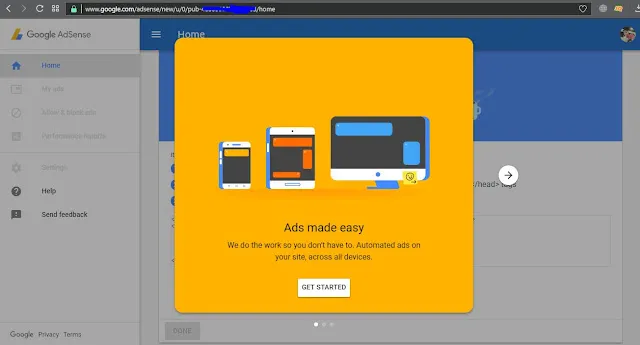
3. Ad Placement
AdSense will show you examples of how ads will appear on your site. Click Get Started to proceed to the code placement step.
 |
|---|
You must copy the provided script and paste it into your website’s template, specifically under the <head> tag.
 |
|---|
Solving Common Code Errors
Many beginners encounter errors when pasting the AdSense script into their HTML template. A common mistake looks like this:
<script async src='//pagead2.googlesyndication.com/pagead/js/adsbygoogle.js'/> (Incorrect)
Two ways to fix this:
- Use an HTML Encoder/Decoder tool.
- Add
=" "to theasyncattribute.
Corrected Version:
<script async=" " src='//pagead2.googlesyndication.com/pagead/js/adsbygoogle.js'/> (Correct)
The Review Phase
Once the code is correctly placed, check the confirmation box and click Submit. You are now in the first review phase. During this time, continue updating your content regularly to increase your chances of approval. Patience is key!
 |
|---|
Bonus: Finding Free and Promo Domains
A custom domain significantly helps with AdSense approval.
Free Domains:
You can get .tk, .ml, .ga, .cf, and .gq domains for free from Freenom. Niagahoster also sometimes offers free .web.id domains.
Promo Domains:
Keep an eye out for promotions. For instance, .com domains can sometimes be found for as low as 65,000 IDR, and .xyz for 14,000 IDR during special sales.
That’s all for today’s explanation on Google AdSense. I hope this helps you on your journey to monetizing your content!