Creating 2 User Accounts on a PC/Laptop for Security
Greetings! This time I’ll be sharing how to create two user accounts on your Laptop/PC. The goal is to keep your personal files safe when others need to use your device. In this tutorial, I am using Windows 7. Follow the steps below:
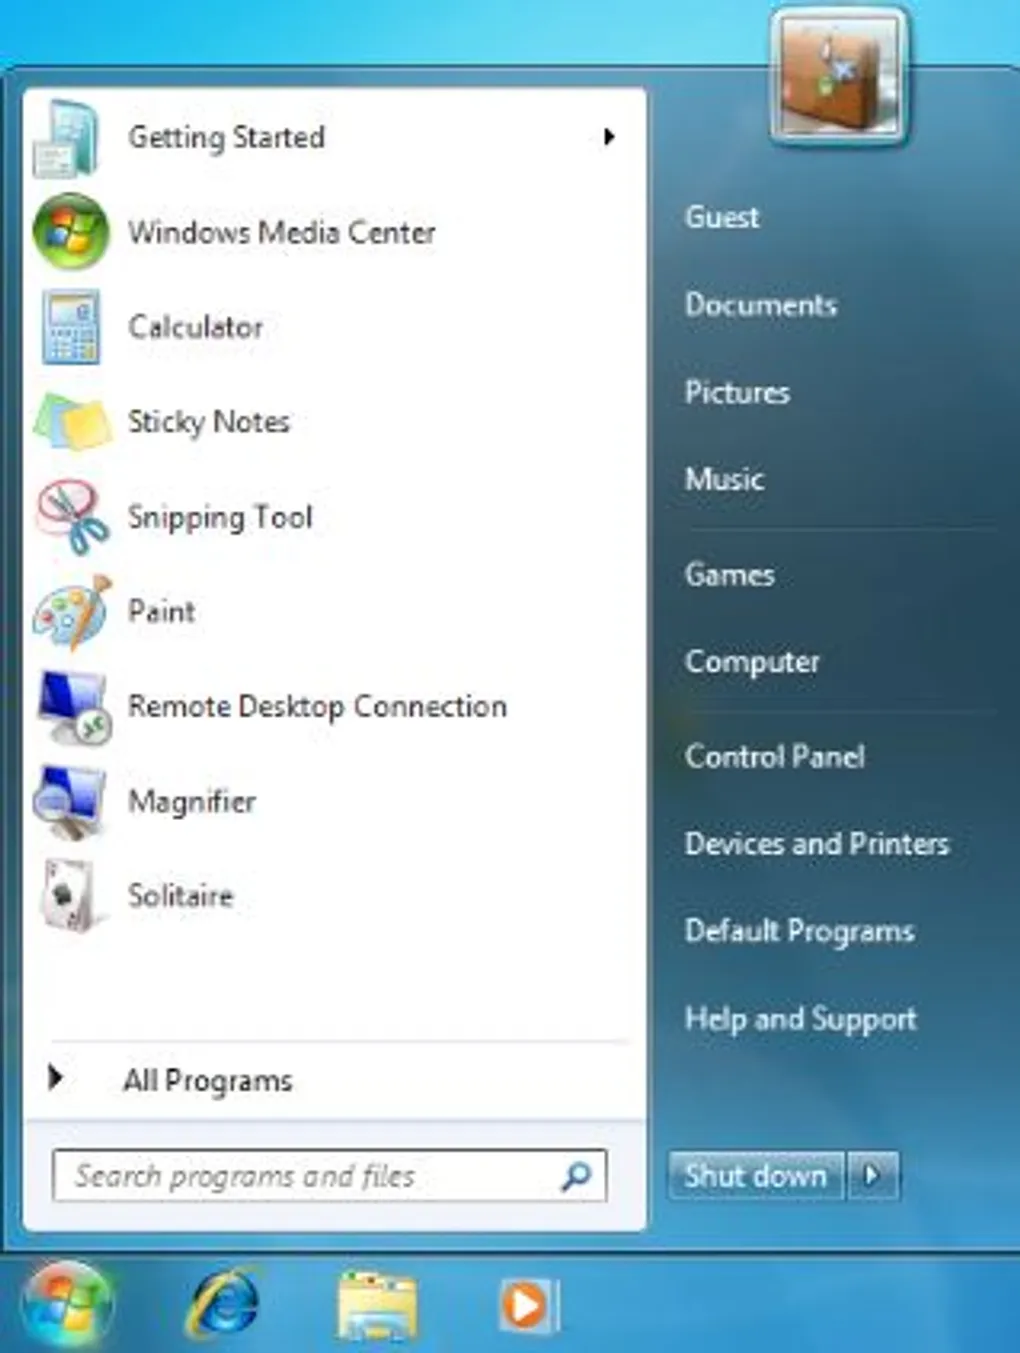
First, click the Start button in Windows 7. You will see a menu like the one below:
 Image 1
Next, click on the user icon in the top right corner. This will open the user accounts window as shown in Image 2:
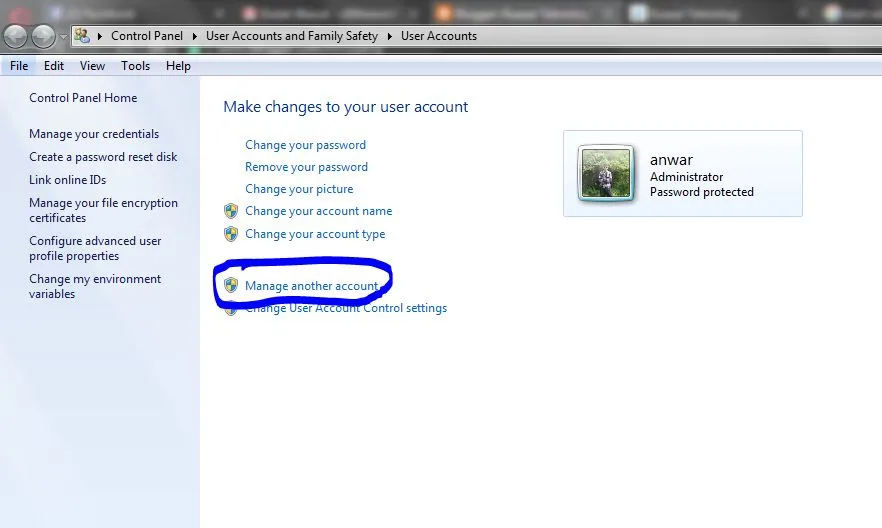 Image 2
In this window, click on “Manage another account” (highlighted in blue in Image 2). You will then be taken to the following screen:
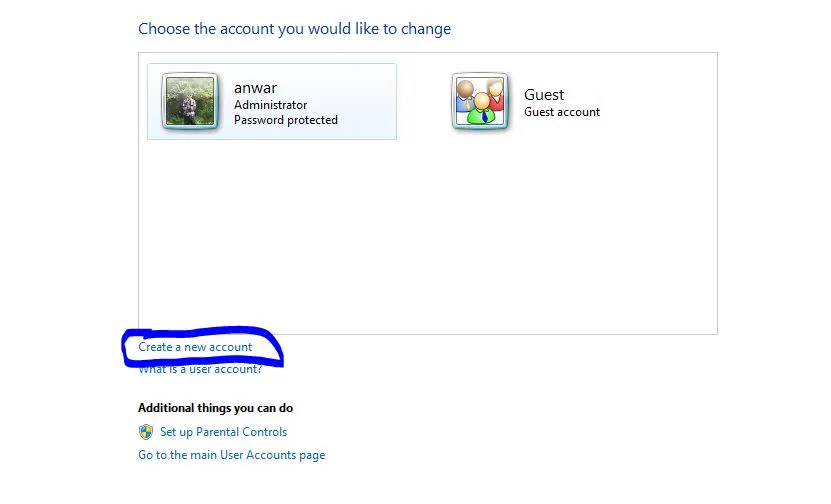 Image 3
Click on “Create a new account”. You can normally choose between a Standard user or an Administrator. To set up security for your own account, select your current admin account and you will see options like Image 4:
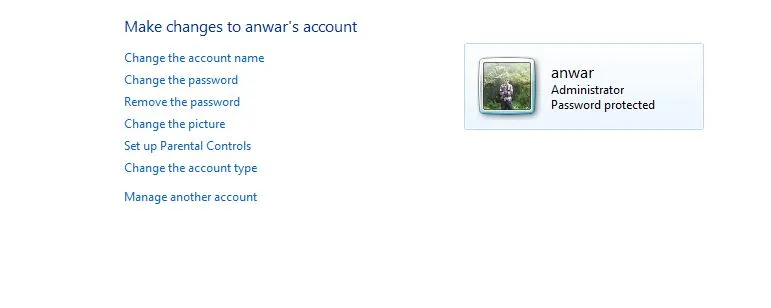 Image 4
Here, you can create a password, change your account name, and update your profile picture. Once secured, go back to “Manage another account” and select the Guest account:
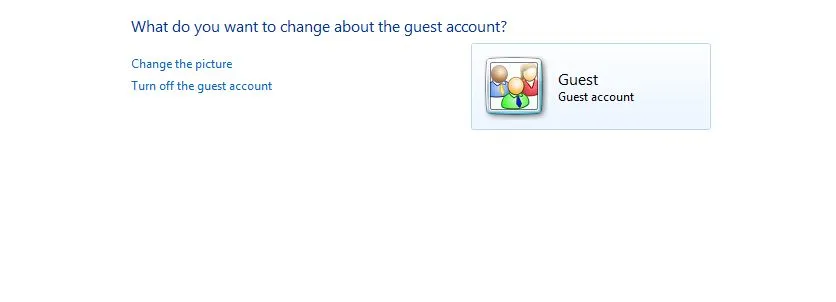 Image 5
On this screen, you can change the guest photo or Turn on the guest account. If you want to use two users, ensure it is set to “On”. Close the Control Panel and Restart your computer. After restarting, you will see a login screen like this:
 Image 6
You can now log in to the account of your choice. Since I set a password for the Administrator account, only I can access my files. When a friend wants to use the laptop, tell them to log in via the Guest account.
This setup is especially useful if you have many files open and need to put the laptop in Sleep mode. If a friend borrows it, they can use the Guest account without disturbing your open work or accessing your private data.
That concludes the explanation on creating two users. I hope this is helpful! If you have any questions, feel free to leave a comment below.